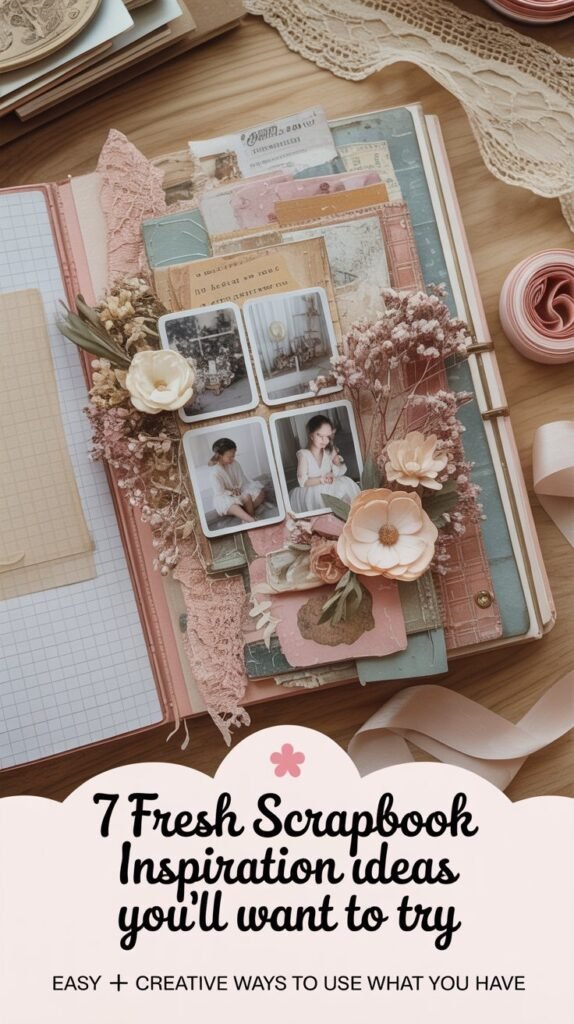
Feeling stuck on how to start your next scrapbook layout? Or maybe you’re tired of the same old designs and need some scrapbook inspiration that actually sparks creativity?
Whether you’re documenting travel memories, celebrating milestones, or just capturing everyday magic — this list is your go-to guide for getting out of that creative rut. These scrapbook layout ideas are fun, easy to try, and packed with personality.
You’ll discover unique ways to use everyday materials, personalize your spreads, and add heartfelt touches that turn each page into a story worth sharing. Perfect for beginners and seasoned crafters alike — let’s turn blank pages into beautiful keepsakes.
🧷 Section 1: Create a Story Grid Layout with Mini Captions
This idea is perfect for when you have a handful of photos that tell a small but meaningful story — like a picnic, road trip, or cozy weekend at home.
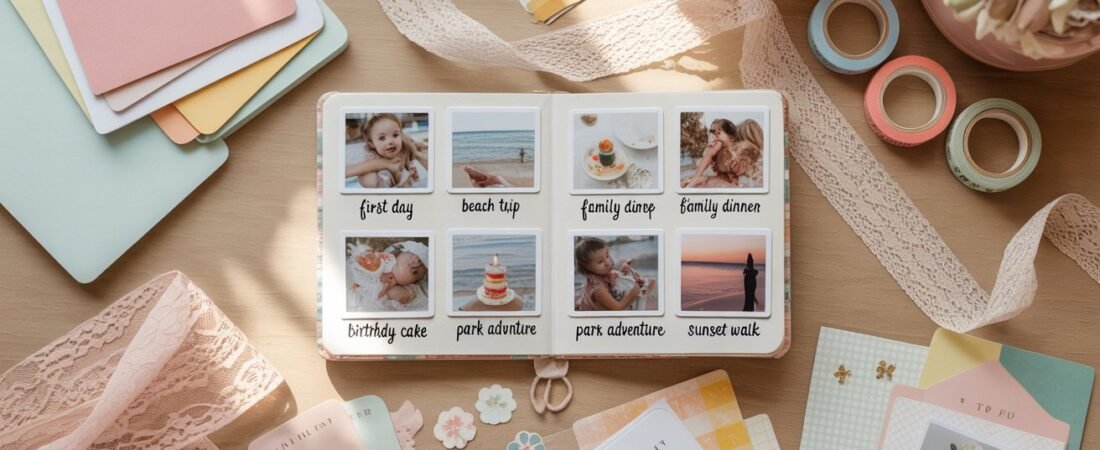
Instead of using one large image, you’ll create a mini photo grid, with short captions under each picture. It’s super visual, structured, and lets your storytelling shine through the little details.
💡 How to Do It:
- Choose 4 to 6 square photos (2×2” or 3×3”) from one day or event.
- Arrange them in a tidy grid — think 2 rows of 3.
- Under each photo, write a one-sentence caption or memory.
- Use washi tape or soft border stickers around the grid for a framed effect.
- Add embellishments that match the theme — like tiny leaves, hearts, or stamps.
🧰 Materials Needed:
- Matte photo paper or pre-printed polaroids
- Paper cutter or precision scissors
- Neutral cardstock background
- Washi tape, mini stickers, or borders
- Fine-tip black pen or calligraphy marker
✨ Bonus Tip:
Use a soft color theme that matches your story (like sage green + cream for outdoors, or pink + gold for cozy memories). You can even add a small quote in the center to tie it all together.
📷 Picture This (Includes Keyword):
Picture This: A dreamy scrapbook inspiration layout with six square photos arranged in a neat grid across a soft cream background. Each photo has a tiny handwritten caption underneath, surrounded by light floral stickers, beige washi tape, and gold foil accents — giving it a clean, modern, and heartfelt vibe.
🖍️ Section 2: Use Recycled Paper Bits as Background Layers
Got leftover wrapping paper, envelopes, or packaging scraps? Don’t toss them — turn them into textured, layered backgrounds for your scrapbook layouts. This adds a beautiful, eco-friendly touch and gives your pages more dimension and color.
💡 How to Do It:
- Tear or cut recycled paper scraps into strips, blocks, or shapes.
- Layer them behind your photo as a textured collage.
- Use glue or double-sided tape to secure everything, letting some edges peek out for a natural, messy-chic effect.
- Add a central title or quote strip on top for balance.
🧰 Materials Needed:
- Recycled paper (magazine pages, old cards, wrappers)
- Glue stick or tape runner
- Scissors or paper tearing ruler
- Neutral or kraft cardstock
- Stamps or ink pad (optional for vintage look)
✨ Bonus Tip:
Stick to a color palette (like muted pastels or vintage tones) to keep it cohesive. Add a thin layer of vellum on top if you want to soften bold patterns.
📷 Picture This:
A beautiful scrapbook inspiration idea using torn bits of blush pink, brown, and soft blue recycled paper. The background feels textured but balanced. A black-and-white photo sits in the center, with a typewriter-font quote beneath it. Gold flecks and soft pencil scribbles add a dreamy, artsy vibe.
🎞️ Section 3: Make a Flip-Out Memory Panel
When you want to include more photos or journaling than your layout allows — a flip-out panel is your solution. It adds an interactive element, and people love discovering those hidden layers.
💡 How to Do It:
- Cut a small piece of cardstock slightly larger than your main photo.
- Attach one side using washi tape, creating a hinge.
- Inside, add extra photos, handwritten journaling, or tiny mementos.
- Decorate the outer flap like a mini cover — title it “open me” or use an icon like a heart.
🧰 Materials Needed:
- Strong washi tape
- Mini paper clips (optional)
- Small cardstock pieces
- Pens, journaling stickers
- Tiny flat embellishments
✨ Bonus Tip:
Try this layout on birthdays, anniversaries, or trips — anywhere you have extra memories to include. You can even hide a QR code that links to a video or audio message!
📷 Picture This:
A soft pink and cream scrapbook layout with a flip-out panel gently lifted to reveal two hidden photos and a handwritten love note. The outer flap says “Open for More” in cursive, with a mini heart sticker. The base page is decorated with pastel dots and metallic accents.
🎨 Section 4: Use Paint Swatches as Color Blocks
Visit any hardware store and grab some free paint swatches — they make incredible design elements. Use them to add pops of color, journaling spots, or dividers across your page.
💡 How to Do It:
- Choose a few swatches in complementary tones (try ombre or seasonal palettes).
- Cut them into strips or shapes (hearts, tags, rectangles).
- Layer them under photos or write your journaling directly on them.
- Combine with neutral kraft paper or white space to let the colors pop.
🧰 Materials Needed:
- Paint swatch cards (free!)
- Hole punch or shape punch (optional)
- Black pen or gold marker
- Glue dots or double-sided tape
- Ruler and scissors
✨ Bonus Tip:
Use one paint swatch strip for journaling and another for your title. Try stamping dates on the edge for a clean timeline feel.
📷 Picture This:
A fun scrapbook layout using three pastel paint swatches — lilac, mint, and peach — cut into flag shapes and layered under a main photo. A gold foil title says “Spring Days” while white space around the layout makes it look clean and modern.
💌 Section 5: Turn Old Cards into Die-Cut Embellishments
If you have old birthday or holiday cards, don’t throw them out. Cut out shapes, words, or images and use them as custom die-cut embellishments for your spreads.
💡 How to Do It:
- Cut around cute graphics, borders, or lettering from cards.
- Use shaped punches for perfect circles, hearts, or stars.
- Layer these over plain journaling cards or use them as focal points.
- Add a foam dot behind for 3D dimension.
🧰 Materials Needed:
- Old greeting cards
- Scissors or shape punches
- Foam adhesive dots
- Gel pens for outlining
- Optional: glitter glue for extra sparkle
✨ Bonus Tip:
Look for textured finishes like glitter, foil, or embossed details — they add luxury to your pages for free!
📷 Picture This:
A charming scrapbook page with a vintage holiday card cut into heart shapes scattered across a kraft background. A gold foil border frames the layout, with red ribbon bows and soft handwritten journaling tucked under the embellishments.
🧶 Section 6: Add Texture with Fabric or Lace Scraps
Fabric adds cozy texture and softness — and it’s a great way to use up sewing leftovers or repurpose worn-out clothes. This gives your layout a shabby-chic, tactile feel.
💡 How to Do It:
- Cut strips of lace, linen, or tulle.
- Layer them behind photos or across the corners like mini curtains.
- Secure with glue or stitch them down with thread for a handmade touch.
- Pair with stitched borders, buttons, or dried flowers for a romantic aesthetic.
🧰 Materials Needed:
- Lace, fabric scraps, or ribbons
- Fabric glue or sewing needle
- Scissors or pinking shears
- Neutral or floral paper
- Small buttons or stitched tags
✨ Bonus Tip:
Layer lace under vintage-style photos and use black-and-white filters to match the nostalgic tone.
📷 Picture This:
A romantic scrapbook layout featuring cream lace layered under sepia-toned travel photos. The edges are stitched with white thread, and a soft pink ribbon runs across the bottom like a gift wrap. There’s a dried flower in the corner for an organic, vintage feel.
💭 Final Thoughts: Your Scrapbook, Your Story
There’s no “right way” to scrapbook — but a little inspiration goes a long way. Whether you’re using recycled materials, trying new layouts, or just playing with colors, every page tells a story that only you can create.
Let this be your reminder: You don’t need expensive supplies to make something meaningful. All it takes is your memories, a bit of creativity, and the courage to begin.
So grab your favorite photos and just start — because your story deserves to be remembered.
FAQ — Scrapbook Inspiration
Q1: What’s the easiest way to start a scrapbook if I’m a beginner?
A: Start simple! Grab a handful of your favorite photos and try the mini photo grid layout. It’s super organized, quick to do, and helps tell your story without overwhelming you. Add captions and a few stickers, and you’re already creating something beautiful.
Q2: Can I use digital elements in my scrapbook?
A: Totally! Digital stickers, printables, and journaling cards can add lots of flair. You can print them out at home or order professional prints. Just mix them with your physical supplies for a unique hybrid look.
Q3: How do I keep my scrapbook pages from feeling cluttered?
A: Stick to a simple color scheme and leave plenty of white or neutral space. Use embellishments sparingly and focus on storytelling through photos and captions. Less is more when it comes to balance!
Q4: What are some eco-friendly materials I can use for scrapbooking?
A: Recycled paper, old greeting cards, fabric scraps, and even paint swatches are perfect. Upcycling keeps your craft budget-friendly and gives your pages a unique personal touch.
Q5: How can I preserve my scrapbook to last for years?
A: Use acid-free paper and photo-safe adhesives to avoid yellowing. Store your scrapbook in a cool, dry place and avoid direct sunlight. You can also consider plastic sleeves for extra protection.