I have always been fascinated by the art of creating puzzle boxes that challenge and delight. A puzzle box is more than just a decorative item; it’s a test of patience and problem-solving skills. In this article, I’ll introduce you to 14 DIY puzzle box plans that cater to both beginners and experienced crafters.
The art of crafting a box with an intricate mechanism is a true challenge. It’s a combination of artistry and mechanical ingenuity that creates an object that both challenges the mind and delights the senses. With these plans, you’ll be able to create a functional box that can confound friends and family, while also serving as a decorative item or storage for small valuables.
Key Takeaways
- Discover 14 unique DIY puzzle box plans to challenge your crafting skills.
- Learn how to combine artistry with mechanical ingenuity in your projects.
- Create functional puzzle boxes that serve as decorative items or storage.
- Explore the historical significance and modern applications of puzzle boxes.
- Experience the satisfaction of crafting a puzzle box that challenges others.
The Fascinating World of Puzzle Boxes
From ancient Japan to modern times, the art of creating puzzle boxes has evolved into a diverse and intriguing hobby. Puzzle boxes have captivated people for centuries with their intricate designs and clever mechanisms.
What Makes Puzzle Boxes Special
Puzzle boxes are more than just clever containers; they represent a blend of artistry, craftsmanship, and problem-solving. The intricate mechanisms and beautiful designs make each box unique.
Brief History of Puzzle Boxes
The history of puzzle boxes is rich and varied, tracing back to ancient Japan where Himitsu-Bako (secret boxes) were developed. Chinese artisans also created their own tradition of puzzle boxes, which later influenced European craftsmen. Over time, these boxes were used to secure valuables and private items, evolving into the complex puzzle box designs we see today.
- The origins of puzzle boxes can be traced back to ancient Japan and the development of Himitsu-Bako.
- Chinese and European artisans contributed to the evolution of puzzle boxes, introducing new mechanisms and designs.
- Modern puzzle box makers continue these traditions, incorporating new materials and techniques.
Essential Tools and Materials for DIY Puzzle Box Plans
Creating a DIY puzzle box requires a thoughtful selection of tools and materials. The right combination of these elements will ensure your project is both challenging and rewarding.
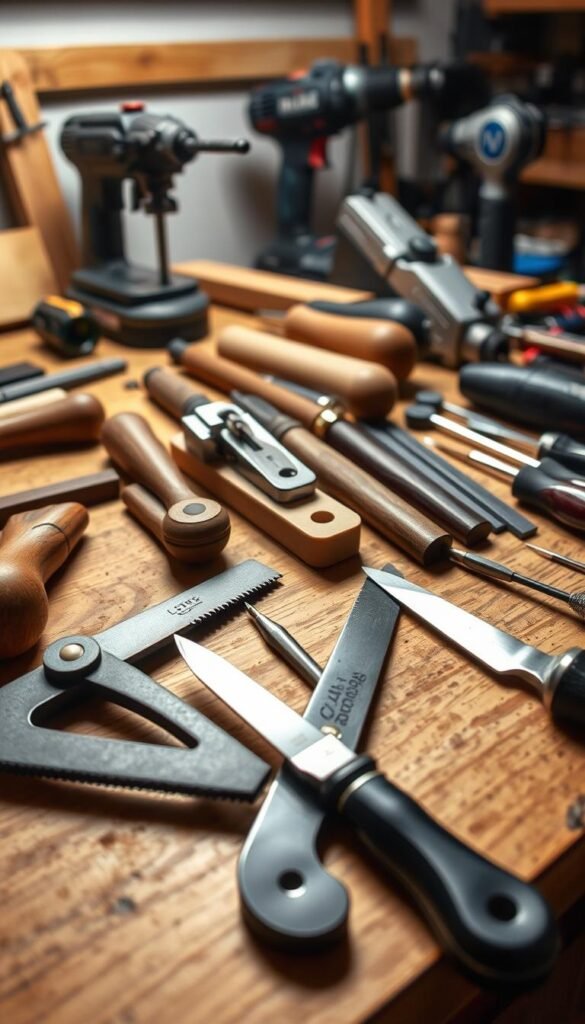
Must-Have Tools
To begin, you’ll need a set of fundamental tools. A precise saw, such as a table saw or a bandsaw, is crucial for making accurate cuts in your wood material. For instance, I used a 21 in x 2.5 in x 0.5 in walnut board for the primary box wood. You’ll also require a drill press for creating holes and a sander for smoothing out the surfaces. Additionally, having a set of chisels and a mallet will help with assembling the various components.
Recommended Woods and Materials
When it comes to choosing the right materials, hardwoods like walnut, maple, and cherry are excellent options due to their stability and beautiful finish. The thickness of the wood is also a critical factor, as it affects both the design and functionality of your puzzle box. For example, I used a 12 in x 5 in x 0.75 in maple board for the bottom, lid, and mechanism. Other essential materials include wood glue (such as TiteBond II), small nails, and finishes like varnish or oil. The grain direction of the wood is also important, as it impacts the strength and stability of the components.
Considering alternative materials is also wise, especially for those without access to hardwoods. Plywood or heavy cardstock can be used for prototyping, offering a more accessible entry point for beginners.
Simple Sliding Panel Puzzle Box
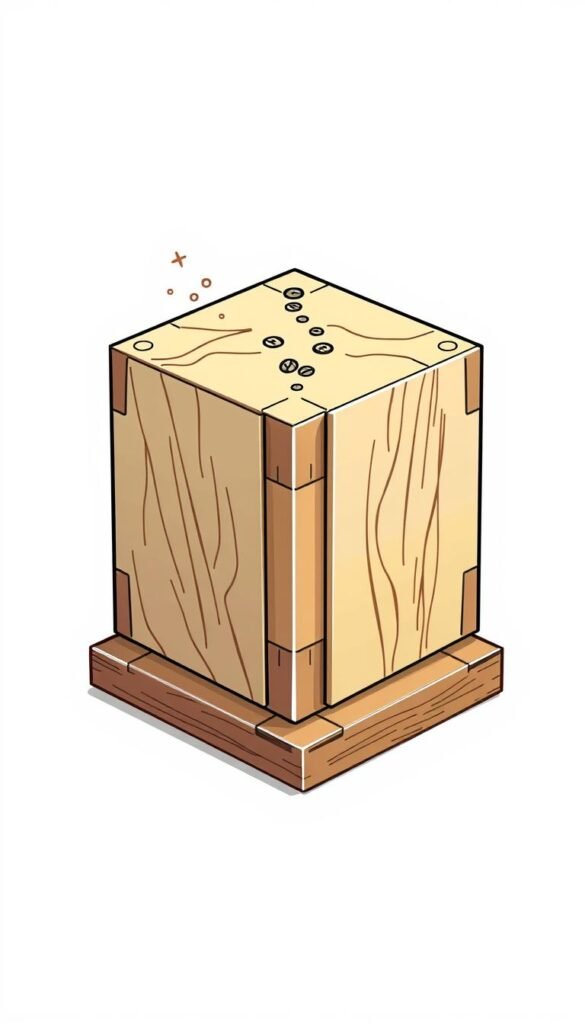
If you’re looking for a challenging yet straightforward woodworking project, consider a simple sliding panel puzzle box. This project involves creating a clever mechanism that requires the user to slide panels to open the box.
Materials List
To start, you’ll need the following materials:
– 1/2″ thick wood for the side panels and bottom panel
– Table saw
– Miter saw or hand saw for cutting wood to size
– Sandpaper and finish for smoothing and protecting the wood
Step-by-Step Construction
To construct the simple sliding panel puzzle box, start by cutting the side panels to the correct dimensions using a table saw or miter saw. Each of the four side panels has a slot for the bottom panel. To make this slot, utilize a table saw with the blade height set to 1/4″ and the table saw fence set at 2 1/8″. This ensures the blade only cuts halfway through the board.
Next, assemble the panels, ensuring they fit together to create the puzzle mechanism. Sand the panels to smooth out any rough edges and apply a finish to protect the wood. Finally, test the mechanism during assembly to ensure proper function and make any necessary adjustments.
Traditional Japanese Puzzle Box
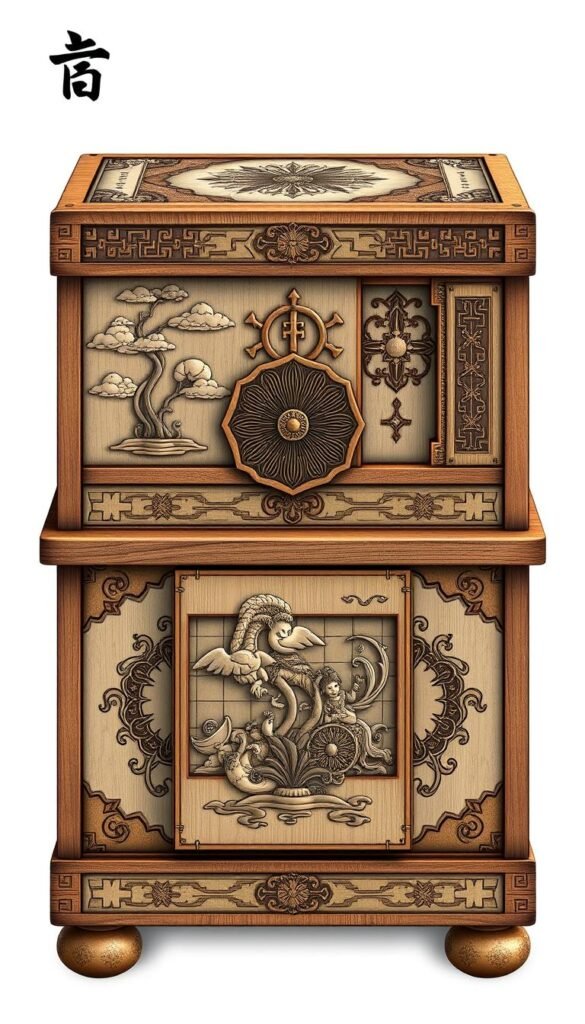
The art of creating a Traditional Japanese Puzzle Box involves precision, patience, and a deep understanding of its intricate mechanism. This puzzle box has four removable sliding panels and a box frame that contains the box compartment along with the top and bottom pieces.
Understanding the Mechanism
The Traditional Japanese Puzzle Box operates by moving each of its four sliding panels one by one in a specific sequence, allowing the box to be opened or closed. According to computer analysis, this box can be opened in 10-12 moves, but it becomes accessible after 8 moves.
Cutting and Assembly Guide
To create this puzzle box, you’ll need to cut precise panels. I’ll provide detailed instructions for cutting the side panels and other components to the correct dimensions. Ensuring the correct tolerances is crucial for the smooth operation of the sliding panels, which is key to the puzzle‘s functionality.
The assembly process involves putting together the box frame and installing the sliding panels. I’ll walk you through this process, providing tips on how to ensure the panels slide smoothly while maintaining the security of the puzzle. Techniques for troubleshooting common issues, such as panels that bind or fit too loosely, will also be discussed.
Secret Compartment Book Press Puzzle
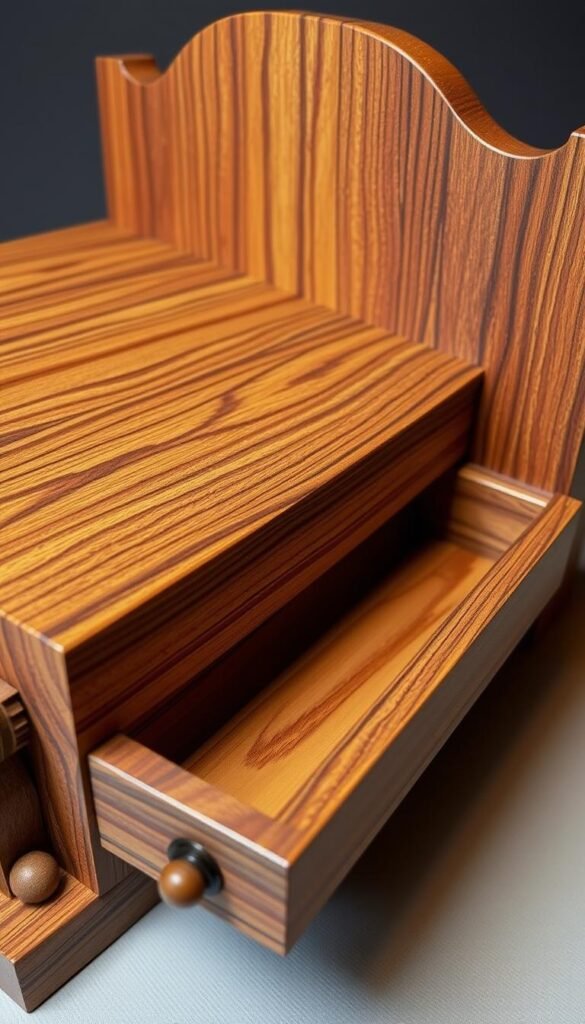
I’ve always been captivated by the idea of a secret compartment book press puzzle, which requires precision and creativity to build. This project, which I call “The Secret of Binders,” is inspired by a story about a royal library’s binding master who created a press with a secret drawer to protect valuable golden sheets used for book ornaments.
Materials and Dimensions
To start, you’ll need high-quality wood and precise measurements. The dimensions of the book press will depend on the size of the books it’s intended to hold. Typically, a press for large coffee table books would be around 12 inches by 8 inches.
Building the Hidden Drawer
Building the hidden drawer involves creating a clever mechanism that remains concealed until the puzzle is solved. To achieve this, I’ll walk you through designing the drawer to be completely invisible, detailing the locking mechanism that secures it, and explaining the sequence of moves required to release it.
The key to a successful secret compartment box is in the puzzle design. Ensuring smooth operation while maintaining security is crucial. I’ll provide tips on how to integrate the drawer into the overall book press design without compromising its appearance.
Magnetic Mechanism Lobster Box

The Magnetic Mechanism Lobster Box is a fascinating puzzle that combines clever design with intricate mechanics. This unique box utilizes a magnetic mechanism that challenges the solver to discover the hidden opening.
Creating the Box Structure
To start, you’ll need to carefully craft the box‘s structure, ensuring precision in every piece. The lobster design on top serves as a decorative element and hides a crucial magnet.
Installing the Magnetic Mechanism
The mechanism relies on the interaction between magnets and gravity. I’ll guide you through installing the magnets in the right locations and disguising them within the design, including alternatives to the lobster ornament for those who prefer different decorative elements.
Beginner-Friendly Cube Puzzle Box
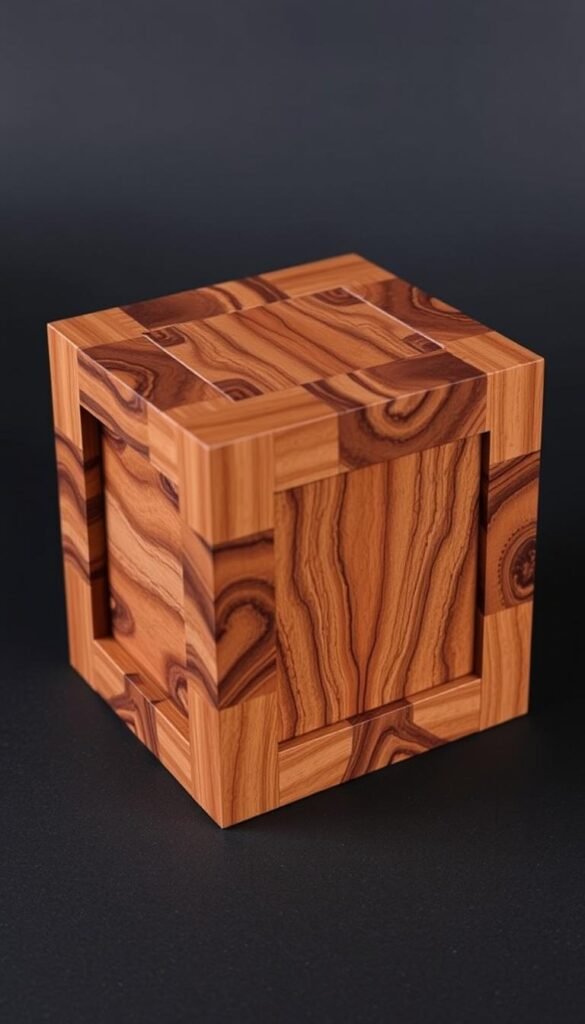
The cube puzzle box is an intriguing project that combines woodworking and problem-solving. This beginner-friendly design is perfect for those new to puzzle boxes, requiring attention to detail and basic woodworking skills.
Simple Design Principles
The cube puzzle box features a simple yet clever design. The box is made from 5 mm olive wood panels, with 10×10 mm mahogany end pieces. One of the panels is removable, secured by three small wooden pins and two strong magnets. The outside dimensions are 100x100x100 mm, with an inside space of 70x70x70 mm.
Assembly Instructions
To assemble the cube puzzle box, start by cutting the olive wood panels to precise dimensions. Create the removable panel, ensuring it fits snugly within the cube structure. Install small wooden pins and magnets to secure the removable panel. Assemble the cube, using the mahogany end pieces to reinforce the corners. Sand the box to a smooth finish, and consider adding decorative elements to enhance the puzzle’s challenge.
Creative DIY Puzzle Box Plans for Unique Designs
For those looking for something different, here are some creative DIY puzzle box plans that will challenge and inspire you. These unique designs not only provide a fun and engaging puzzle to solve but also result in a beautiful and functional piece.
Camera-Shaped Puzzle Box
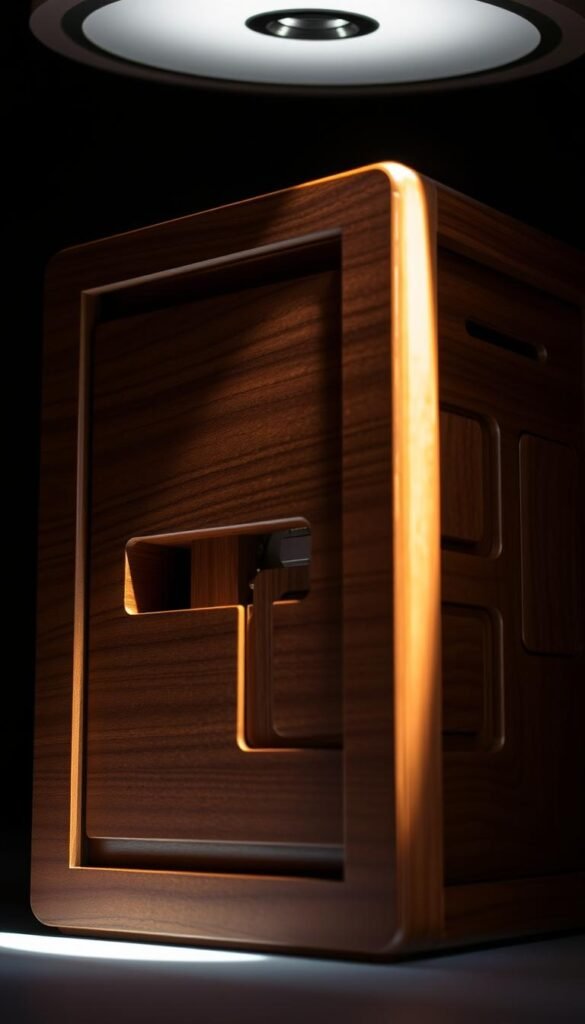
A camera-shaped puzzle box is a unique design that combines functionality with aesthetics. To create this box, you’ll need to carefully plan the pieces and mechanism. Start by designing the camera body and lens, ensuring that the puzzle mechanism is integrated seamlessly. The result is a cleverly disguised box that’s both puzzling and decorative.
Boat-Shaped Matchbox Safe
The boat-shaped matchbox safe is another creative project that doubles as a box for storing small items. This design appears to be a simple wooden boat at first glance, but it conceals a hidden compartment. To create this puzzle, you’ll need to craft the hull and deck carefully, integrating the puzzle mechanism. The end result is a charming and functional puzzle box that’s perfect for storing matchboxes or other small treasures.
- Crafting the hull and deck to create a believable boat shape
- Integrating the puzzle mechanism to reveal the hidden compartment
- Scaling the design to accommodate different sizes of matchboxes or small items
Advanced Locking Mechanism Puzzle Box
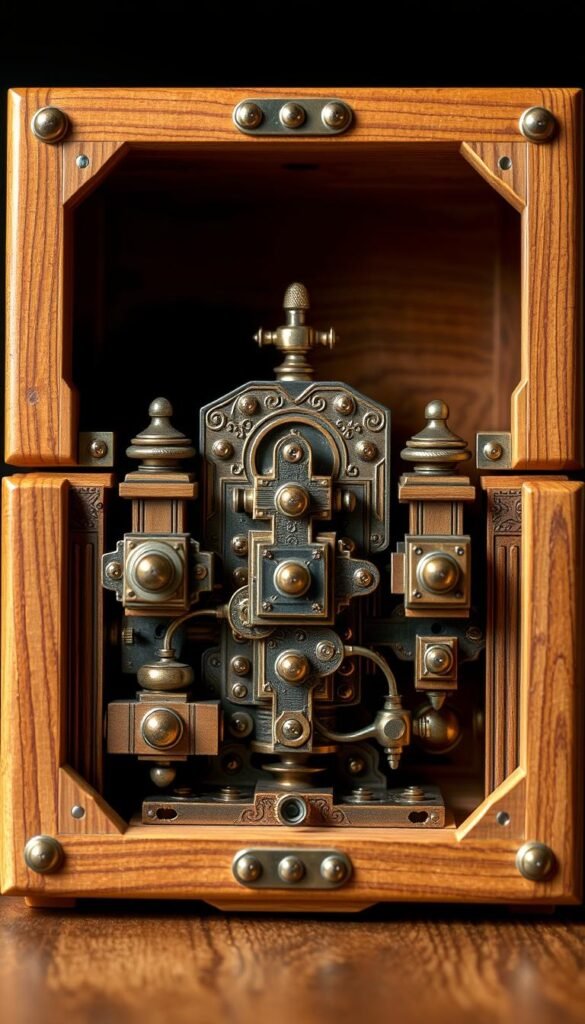
The art of crafting a puzzle box with a sophisticated locking system requires precision and patience. I’ve found that working with distinctive woods like padauk adds an extra layer of complexity due to their unique properties, such as the red dust produced during sanding.
Creating the Twin Lock System
The twin lock system is a challenging yet engaging mechanism to implement in a puzzle box. It involves creating a dual-locking system that requires a specific sequence to open the box.
Toothpick Box Variation
A variation of the twin lock system is the toothpick box, which uses small wooden pins resembling toothpicks as part of the locking mechanism. This requires precise holes on one side of the box to accommodate the toothpicks, adding an extra layer of complexity to the box’s construction.
By incorporating such advanced mechanisms, the puzzle box becomes not just a test of patience but also a showcase of craftsmanship, making the solving experience even more satisfying.
Chinese Dragon Puzzle Box
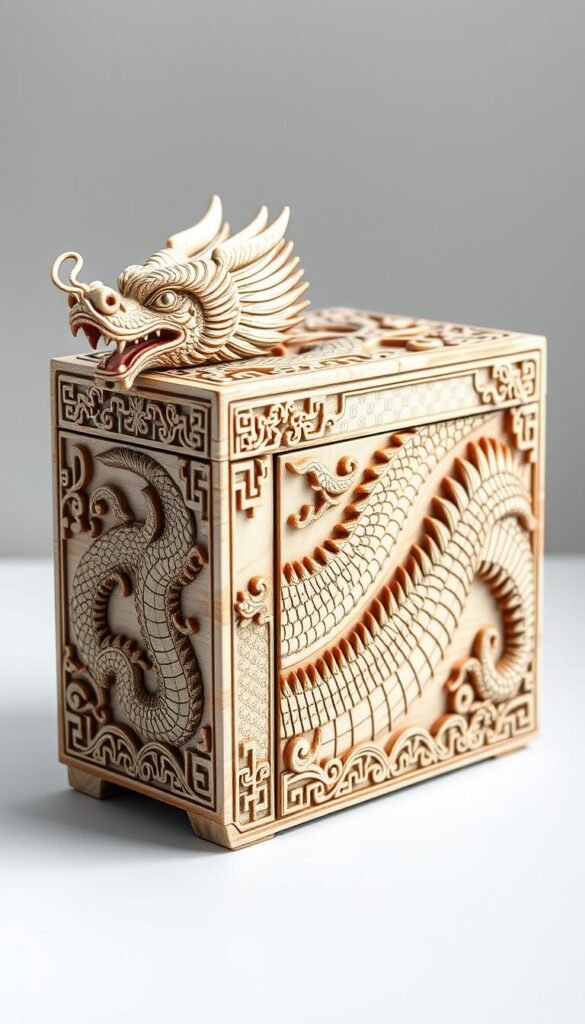
For those looking to push their woodworking skills to the next level, the Chinese Dragon Puzzle Box offers a challenging and satisfying project. This complex box requires precision and patience, combining intricate design with clever mechanics.
Materials and Cutting List
To start, you’ll need various types of wood, such as cherry and mahogany, along with some small padauk scraps. The pieces you’ll cut include the side panels, top, and bottom of the box, as well as the intricate dragon decorations.
Assembly and Decoration Tips
When assembling the Chinese Dragon Puzzle Box, pay close attention to the mechanism that allows the box to open. Techniques for creating the dragon decorations include wood burning or carving, which can be used to create intricate motifs on the side panels. Ensuring that the decorative elements are well-integrated with the functional puzzle is key to the box’s success.
Conclusion: Taking Your Puzzle Box Skills to the Next Level
Now that you’ve mastered the basics of DIY puzzle box plans, it’s time to think about what’s next in your puzzle-making journey. Through creating various puzzles, you’ve developed key skills that can be combined to create original designs. To continue developing your skills, consider exploring different mechanisms and materials. You can find resources for further learning in books, websites, and communities dedicated to puzzle box making.
Sharing your creations and participating in the broader puzzles community can be rewarding. For skilled craftspeople, puzzle box making can become a potential source of income. The time invested in learning these skills pays off in the satisfaction of creating unique boxes that challenge and delight.
